Microsoft Dynamics 365 & PowerApps Developer - Plugin Development and Deployment using Plugin Registration Tool in the Microsoft Dynamics 365
Steps to Develop Plugin:
➤ Create a new Class Library project for C#.
➤ Download the required assemblies using NuGet Package Manager ➔ Microsoft.Xrm.SDK.dll
➤ Add a reference to this SDK DLL in the project.
➤ You can implement the IPlugin Interface from the reference assembly.
Example:
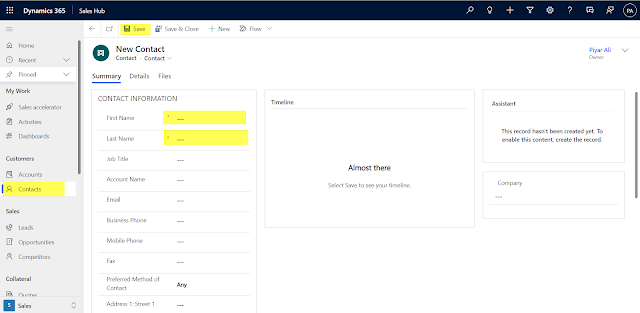
Scenario: On creating a new contact and adding the First Name and Last Name, when the user clicks on the save button I want to auto-populate some fields in this example I am auto-populating the Personal Notes so the plugin will populate the Personal Notes automatically.
Sample Code:
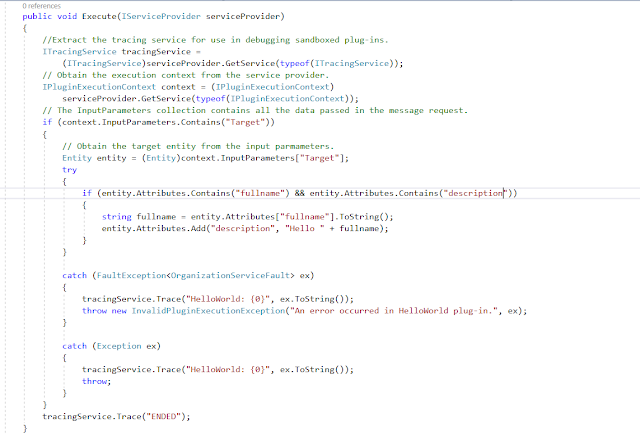
➤This sample code is updating the description field on the creation of new contacts and filling the description field with the string "Hello" then full name or first name and last name.
➤So for this, we are first creating the context from the Service Provider then getting the Target entity from the context and fetching the first name last name, or full name from the context, and stored in the string variable.
➤ Then we are adding this string variable to our description field.
➤ So the final code will be like:
➤ Now Install Plugin Registration Tool using NuGet
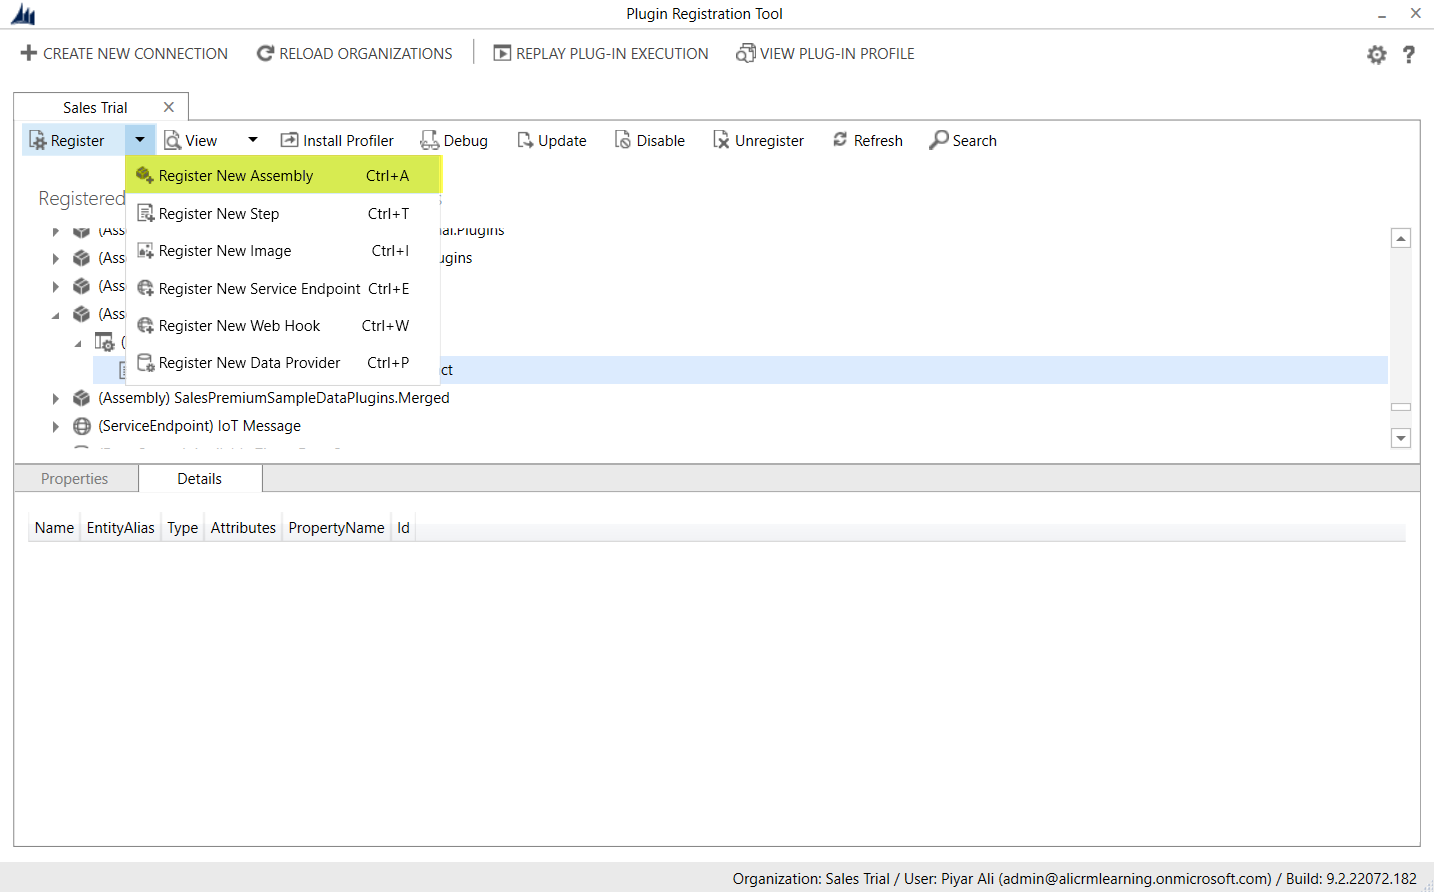
➤ Run the Plugin Registration Tool and connect with your organization➤ Register New Assembly
➤ Select your plugin sample DLL file and click Open.
➤ Then Select the sample plugin you want to register and click on Register Selected Plugin.
➤ Now need to add a step to trigger our plugin code on some operation or event.
➤ Click on Register New Step
➤ To add a new step select your sample plugin and click on the Register menu and select Register New Step.
Testing:


Comments
Post a Comment